
So I’ve provided a perfect fall dinner for you – and now here’s dessert.
I know that there are still some decent weeks of summer left, but fall is by far my most favorite season of the year. The beautiful colors of the leaves, the crisp chill in the air, and the shameless use of PUMPKIN in everything.
This recipe caught my eye because 1) it used beer 2) it called for pumpkin and 3) well, brownies might just be one of my most favorite desserts ever. This is the third recipe that I’ve used from Women’s Health Magazine – these ladies really know their beer recipes! While visually, I don’t think they came out quite as well as the WHM ladies version, tastefully, they delivered!

Chocolate Stout Pumpkin Brownies
*Womens Health Magazine
INGREDIENTS
2 Tbsp low-fat cream cheese, room temperature
1/2 cup plus 1/4 cup sugar
1/2 cup canned pumpkin
3 large eggs, room temperature
1 cup plus 2 Tbsp whole-wheat pastry flour
1 tsp cinnamon, divided
6 oz bittersweet baking chocolate, chopped
2 Tbsp unsalted butter
1/3 cup unsweetened cocoa powder
1 cup stout beer, room temperature
1 tsp vanilla extract
1/2 tsp baking powder
1/4 teaspoon salt
1) Preheat oven to 350°F. Lightly grease an 8-inch square baking pan. In a bowl, stir together cream cheese, 1/4 cup sugar, canned pumpkin, 1 egg, 2 tablespoons flour, and 1/2 teaspoon cinnamon; set aside.
2) Place chocolate and butter in a metal bowl and heat over a pot of simmering water, stirring until completely melted. Remove the mixture from the heat and stir in 1/2 cup sugar. Mix in 2 eggs, one at a time. Gently stir in 1 cup flour, cocoa powder, beer, vanilla extract, baking powder, salt, and 1/2 teaspoon cinnamon.
3) Scrape half the chocolate batter into the prepared baking pan and spread evenly. Spread half the pumpkin mixture on top, then add the remaining chocolate mixture on top of that and spread evenly. Top with the remaining pumpkin mixture. Gently swirl batter with a butter knife. Bake for about 30 minutes, or until an inserted toothpick comes out clean. Let cool before slicing.
These were phenomenal, however I think next time there are a couple things I might do differently. 1) Double the pumpkin mixture – I felt that the chocolatey-ness of the brownies really overp0wered the deliciousness of the pumpkin swirl on the top. So I would recommend doing that, especially if you love pumpkin!
I also think I would maybe cut back on the amount of unsweetened baking chocolate, maybe from 6 oz. to 4 or 3. I personally don’t love that bitter chocolate taste, and felt that the brownies were a little bit on the bitter chocolatey side, so I think I would just maybe cut back on it a bit next time.
You guys will love these though 🙂 Another keeper for ‘Cooking with Beer’!


sticks make great snacks
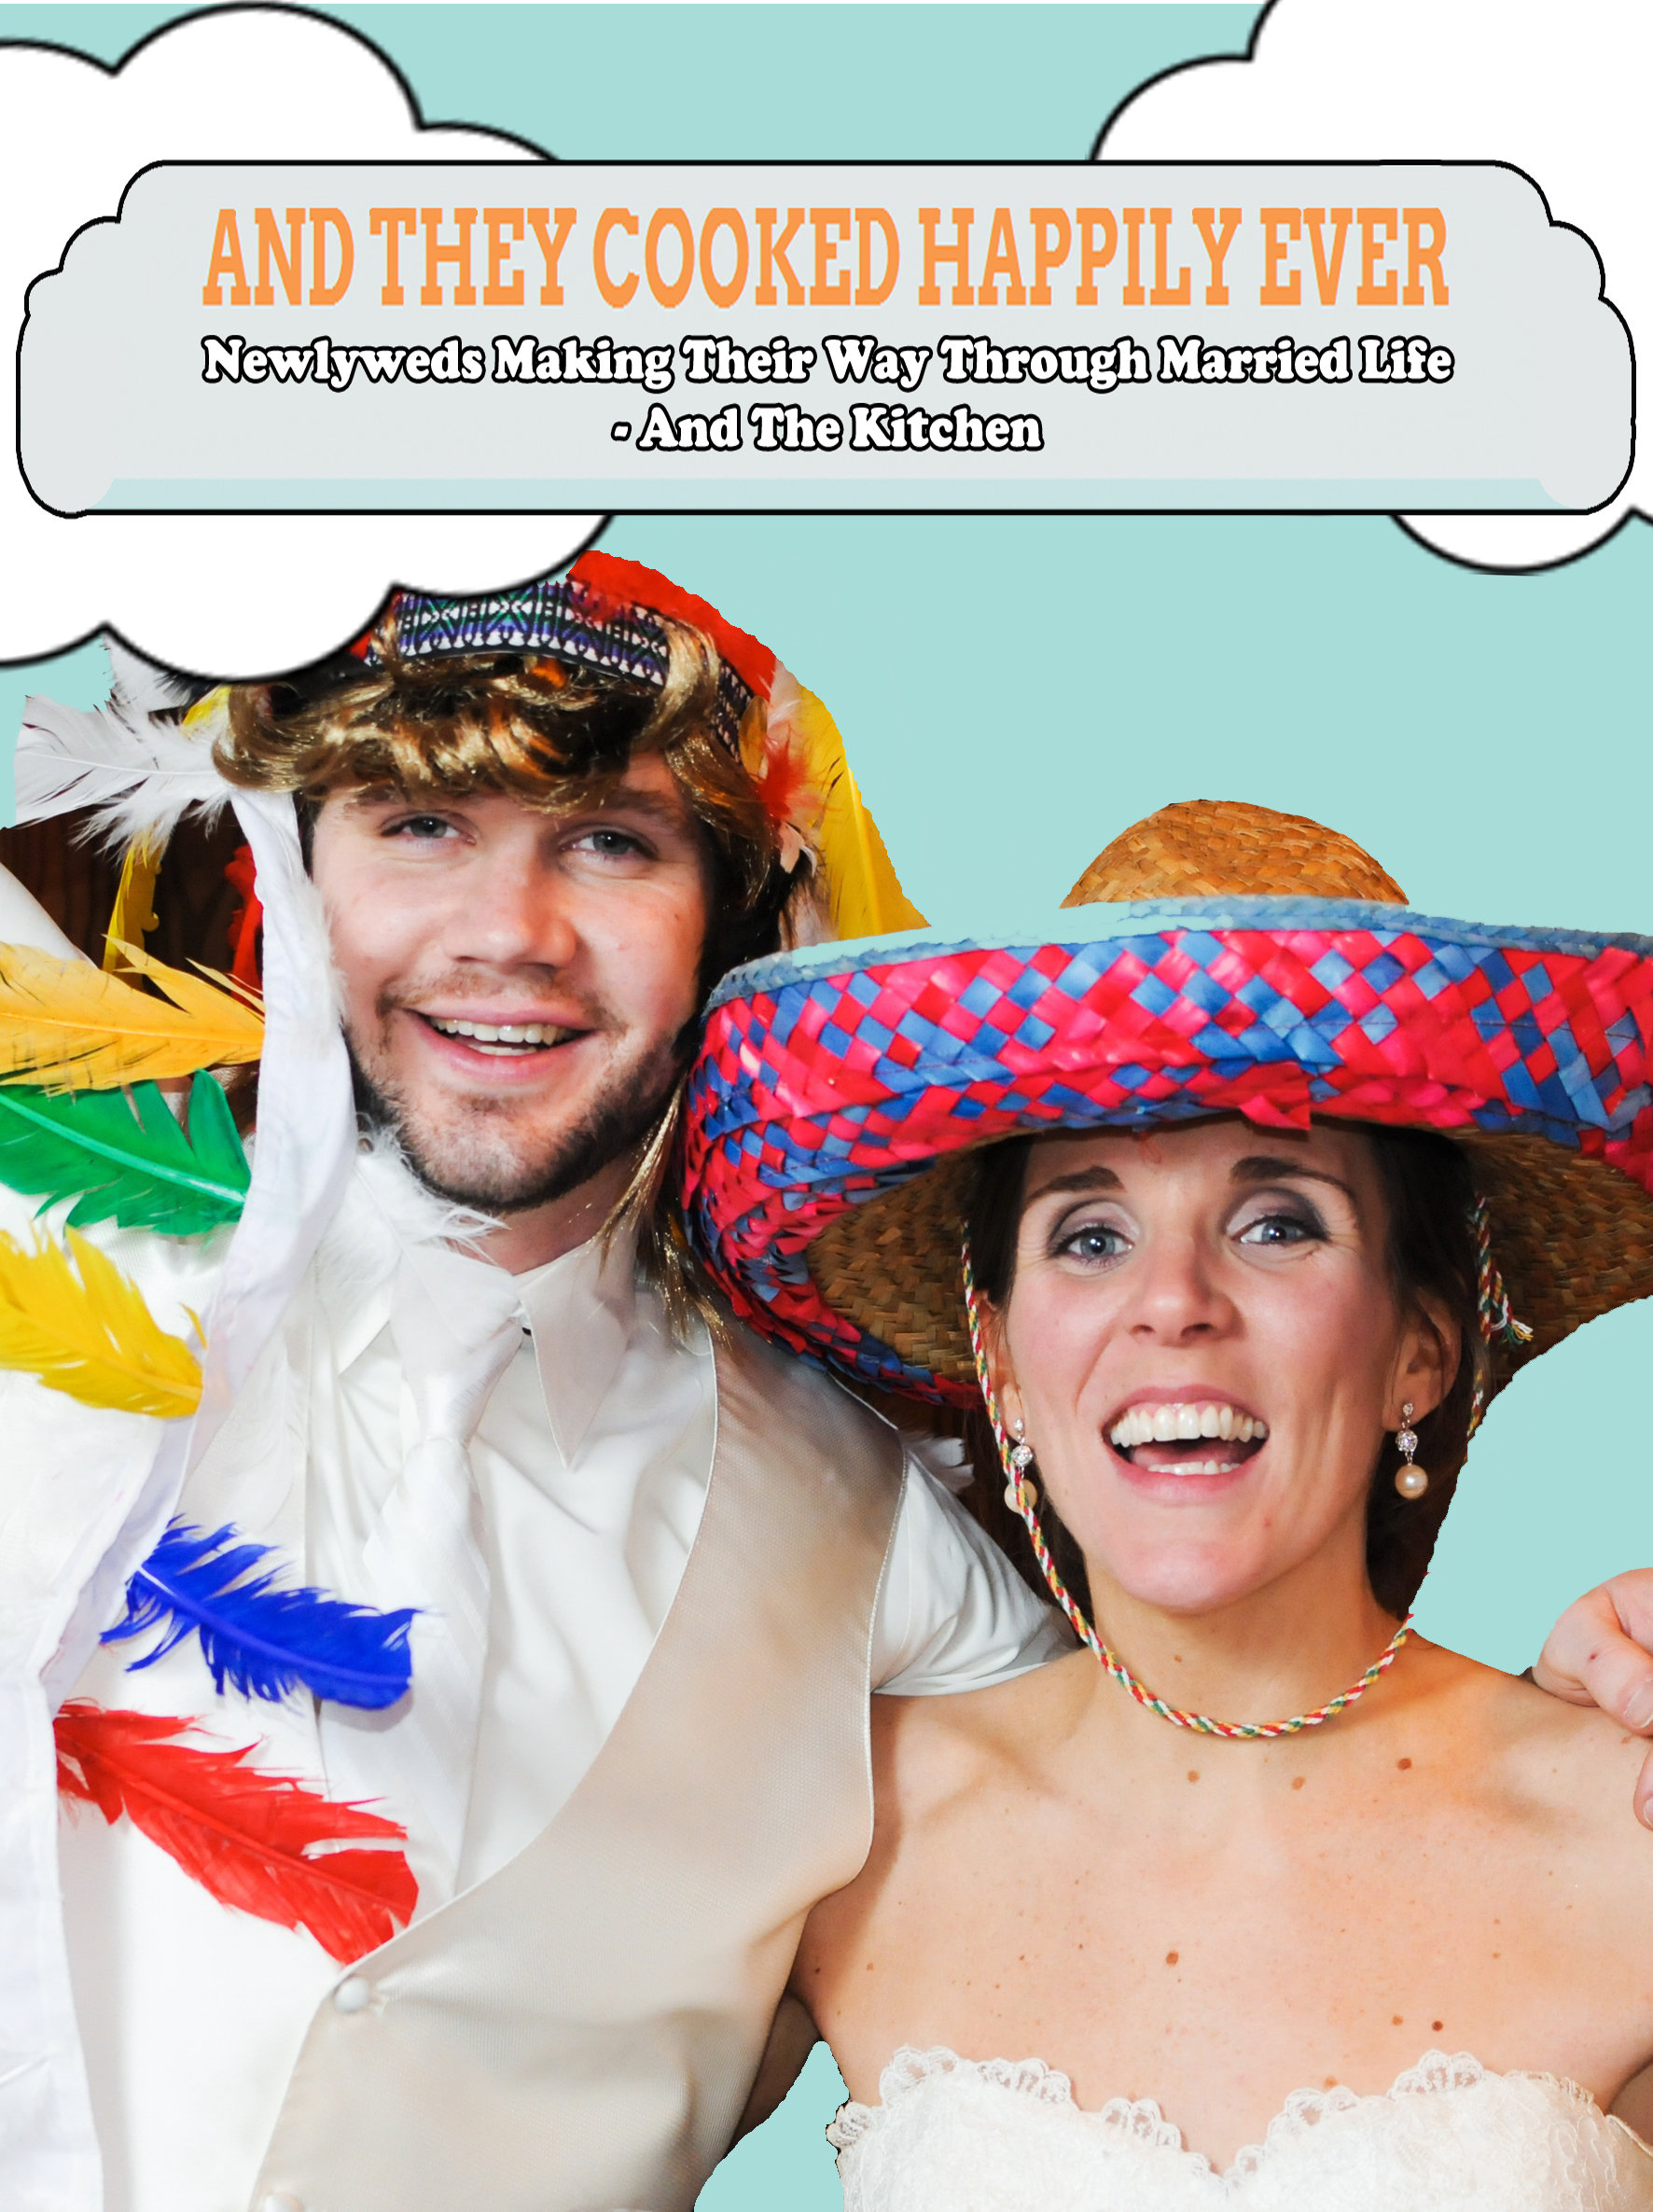
Yesterday marked our one month anniversary with Hairy (aka Hair Maclare, Hair Bear, Bubba, Bubbaloo, Bud, Buddy – he’s definitely having an identity crisis). And luckily, there wasn’t much on the agenda for this weekend, so we got to spend lots of time with him after being away last weekend. Lots of walks – an outside beer in Davis Square – a trip to the park – and getting to meet his Auntie Ash and Uncle Sean! They were nice enough to invite us over for dinner so we could catch up and so that they could meet Hairy before he morphs into a 100 lb. monster.

post-piddle
Ash and Sean are fab cooks – they always try new things and somehow I get the sense that in all their attempts at new recipes, there has never been a disastorous outcome. Their recipe selection and cooking skills are just that good. Sean made this fantastical Lobster Ceviche and Ash concocted a light and delcious corn chowder and Arugula Salad (another recipe that I stole from her) that were perfect compliments to the meaty steaks we had. A fantastic meal! And, they are such good hosts that when Hairy piddled on their really nice rug, Ash didn’t even bat an eyelash, but quietly cleaned it up while Dave and I (worst puppy parents ever) enjoyed our cocktails out on the porch. Ooops. Ah well, at least he’s cute right?
In addition to Ash’s delicious pie crust french fries with blueberries (GENIUS), I made Dark Chocolate Goat Cheese brownies. The Vermont Brownie Company has a version of these that I’ve had a few times and thought “Wow – who ever would have thought cheese would be good in a brownie!”. There’s lots of recipes for them out there, but this one from My Fancy Pantry stuck out quite frankly because it seemed really easy and really delicious. And it was. Oh and they were.

Goat Cheese Brownies
*My Fancy Pantry
INGREDIENTS
*yields about 2 dozen small/1 dozen large brownies
1 batch of brownies, prepared–but not baked
(I used Duncan Hines Dark Chocolate Fudgey Brownie Mix)
1 large dark chocolate bar- cut into chunks
8 oz. goat cheese
2 tbsp. honey
1 tbsp. all purpose flour
2 tbsp. cream cheese
1 egg
1) Preheat your oven to 350 degrees and grease your baking pan (I used a 9×13).
2) In a large bowl, prepare your favorite brownies–homemade or from a mix–and stir in the dark chocolate chunks. Set the brownie mixture aside.
3) In a separate bowl, combine the chevre, honey, flour, cream cheese and egg. Beat the ingredients together until the mixture becomes nice and smooth.
4) In the greased baking pan, add half of the brownie mixture. Spread it out so that it covers the entire bottom.
5) Now, add spoonfuls of the goat cheese mixture on top of the brownies you just spread in the pan. Spoon the rest of the prepared brownie mix on top, as well.
6) Using a plastic knife or a butter knife, make swirls and zig-zags throughout the spoonfuls of chevre mixture and brownie mix, creating a pretty swirled pattern.
7) Bake the brownies in the pre-heated oven until the center is set but still quite fudgy. (Follow the baking directions for whichever brownie mix or recipe you used– I baked for about 25 minutes).
8) When the brownies are finished, remove them from the oven and let them cool. Once they’re completely cooled, remove from the pan and freeze–or cut and serve.
The fudgey factor of these is beyond – they are so stickey and gooey that I would highly recommend keeping them frozen, or at least chilled (definitely not out at room temperature for too long).
Hopefully, these were good enough to cancel out the trail of puppy pee 😦


I gotta say, multi tasking these days is a must. Tonight, I have like a zillion and a half new recipes I want to try – and there’s the ‘clicker’ method of training we’re trying with Hair, AND there’s a new episode of Restaurant Impossible on – ugh. Not enough hours in the day sometimes. Dave had hockey tonight, which meant that I was home with Hairy by myself – and I don’t know why I’m slightly terrified to be alone with this little brown bundle of joy, but I feel somewhat this way. Maybe because in 2 weeks, we are down 2 pairs of flip flops, 1 lap top charger and 1 phone charger. He moves fast that one!
Do you guys remember the delicious candy bar that was invented some years ago by Hershey called ‘Take-5’? Augh – so good. A combination of some of my favorite things on earth – chocolate, pretzels, peanut butter, caramel and peanuts – phew. And honestly I feel like this particular genius combination really never got the credit it deserved. It was that candy bar at the check out whose box was still full or had a slight layer of dust on it. And that always made me sad. Sure Snickers and Milky Ways are old classics that will probably still be around 1,000 years from now when robots are ruling the earth (I really do believe this will happen). But Take-5 really pushed the limit in the candy bar world, and is probably one of the only ones I know that incorporates pretzels, which I think is genius!

What’s up w/ my Take-5 tangent? I stumbled apon these delightful looking Brownie Batter Bites from The Domestic Rebel. And there were 2 things that struck me about this recipe – 1) It looked super easy and 2) It was reminiscent of my favorite underrated candy bar, Take-5’s, incorporating chocolate brownie batter, pretzels and chocolate. So I took it, and added peanut butter to it. Peanut butter makes everything better (especially rubber kongs – just ask Hairy)
‘Take 5’ Brownie Bites
INGREDIENTS
(makes about 3 dozen bites)
1 box of dry brownie mix
1 stick of butter, melted
1/2 cup peanut butter
1 bag of mini-pretzels
2-4 tbsp. of heavy cream (or milk)
8 oz. milk or dark chocolate
1) In a large mixing bowl, combine the brownie mix, melted butter and peanut butter. As you’re mixing, you’ll notice that this batter will become pretty dry. That’s what the cream/milk is for. I added a little at a time until it reached more of a doughy consistency. I would start with 2 tbsp. and add as you need it to soften the batter.
2) On a cookie sheet lined with wax paper, lay out 36 mini pretzels. Take about 1 tsp of the brownie/PB batter and roll into a ball between your palms.
3) Place ball of batter on top of pretzel, then cover with another pretzel making yourself a little ‘sammie’. Once you’ve finished assembling all the sammies, place them in the fridge for about 1/2 hour so they can chill.
4) While sammies are chilling, melt your chocolate in a double boiler or in the microwave. Take your sammies out of the fridge, submerge them in the melted chocolate and then cover with rainbow sprinkles (or your topping of choice!)
So in the end, I got to accomplish A LOT in one night:
1) Made these delicious Take 5 bites (and ate so many, I gave myself a stomach ache – am I 30 or 12?) while still managing to keep an eye on Hairy (I’m down to my last pair of flip flops – it’s essential to not let him out of my sight)
2) Just about nailed the ‘SIT’ trick with the help of many clicks and MANY more treats.
3) Got to watch the new R.I. – it amazes me what they do in 2-days – and I think Robert Irvine is totally sexy – there I said it – Sorry Dave 🙂


Cake pops are all the rage now – taking baked cake, crumbling it up into tiny pieces and then slapping a can of frosting in the mix, rolling into balls and putting it all on a stick – GENIUS!
I saw a version of this new fad on pinterest from Play Eat Grow, only these ladies added an extra, super fun step, and instead of placing the cake balls on a stick, they stuck them on an ice cream cone! Making a new, fun version of everyone’s favorite summer time treat. I took one look and knew that I had to try them. But I thought of making them a little differently by using brownies instead of cake. I just love brownies – not that I don’t love cake – but how can you go wrong with chocolatey brownies rolled into a ball on top of an ice cream cone? You CAN’T!
Brownie Cake Cones
INGREDIENTS
(makes about 8 brownie cones)
1 Box of brownie mix, prepared according to instructions
(cake like style)
1 can of your favorite chocolate frosting
1 Box of sugar cones
1/2 bag of candy melts
*I got the melting discs that you can buy at A.C. Moore or Michaels but any melting chocolate will do
Colored non-pareils
1) Prepare the brownies according to the instructions, using the cake-like recipe (fudgey style brownies would be hard to crumble). After the brownies have cooked and cooled off, crumble them into small pieces and place in a large mixing bowl.


2) Add 1/3 of the can of frosting to the brownie crumbles and mix. You can add frosting as you feel necessary. Most cake pop recipes call for an entire can of frosting, but I thought that the brownies are naturally a little more ‘fudgey’ than cake, so a lot of frosting wasn’t entirely necessary, but you can use your discretion.
3) Take a handful of the brownie frosting mixture, so that when you go to roll the mixture into a ball, it fills the palm of your hand. You want the balls to be large enough to fit in the sugar cones. You can test beforehand to make sure they’re large enough.


4) After you have your brownie balls rolled, chill them in the refridgerator for about 20 minutes, just so that they will hold their shape.
5) While the brownie balls are chilling, melt the chocolate melts over medium heat in a saucepan.

pink = PARTY!
6) Take the brownie balls from the fridge and dip the bottom half of the ball in the chocolate and then place on the top of the cone so that the chocolate will fuse the brownie ball to the cone once it hardens.

7) After the brownie ball has been ‘glued’ onto the cone, take a spatula and spread the chocolate over the rest of the brownie ball. You could also take the cone and just dip it directly in the chocolate – I thought spreading it with the spatula helped to give more of a ‘drip’ effect, making it look more like ice cream.

8) While the chocolate is still melted, dip the cone in the non-pareils.

9) Let the cones/chocolate harden in the make shift cone holder.
These honestly came out so much better than I pictured! The brownie was perfectly soft on the inside, and the chocolate and non-pareils on the outside really gave it a nice crunch – and it’s on a cone! How can you go wrong? You can’t get a funner or more delicious dessert! And the best part is that they won’t melt all over your hands 🙂
Enjoy!


Sounds strange I know – but lately I’ve been loving goat cheese – it’s soft and creamy, delicous on crackers, similar to cream cheese but with a little bit of tanginess – all in all a great ingredient!
And then I thought of a way to incorporate it with dessert.
My friend Maggie made these delicious little Nutella pockets a while back at one of our wine clubs. And they were so yummy, and by the sounds of it, so easy to make! So I experimented with some ingredients to make a new spin on everyone’s favorite chinese food side, crab rangoons. Only using brownie mix and goat cheese. YUM!
Goat Cheese and Brownie Rangoons
INGREDIENTS
Vegetable oil
1/4 cup fresh goat cheese
1/4 cup fat free ricotta cheese
1 teaspoon confectioner sugar
3 tablespoons dry brownie mix, plus 2 tbsp for dusting
12 won ton wrappers
3 tbsp granulated sugar
egg white for basting
1) Combine the goat cheese, ricotta, confectioner sugar and brownie mix in a mixing bowl with an electric mixer until creamed together.


2) Lay out the 12 won tons on a baking sheet – place 1/2 tbsp of the goat cheese/brownie mixture in the center of each won ton.

3) Baste the edges of the won ton with egg white and then fold won ton into a triangular shape, covering the mixture.

4) Take a fork and press the edges of the won ton together.

5) Take the two outside corners of the won ton triangle and pinch together.


6) Take the granulated sugar and remaining dry brownie mix and combine in a small bowl to form the sugar coating for the outside of the won ton.

7) Heat the vegetable oil on medium heat until hot (about 5-10 minutes – you could also bake these, I just think frying them in the oil gives them that extra crunch and flavor)
8) Drop each won ton into the hot oil for about a minute, removing when won ton starts to become golden brown. Remove from oil and place on a paper towel lined plate.


9) Sprinkle the hot won tons with the brownie/sugar mixture.

10) Serve hot/warm!
A perfect quick and easy dessert for your next function! You could probably use regular Ricotta cheese as well for a richer flavor (I just happened to have the fat free in the fridge) I’d recommend serving warm and if they happen to get cold, you could toss them in the oven or microwave to warm them up.
Who said cheese from goats couldn’t be delicious?